How to Make Chevre Cheese: A Homemade Recipe for Fresh and Flavorful Chevre
Introduction to Chevre Cheese
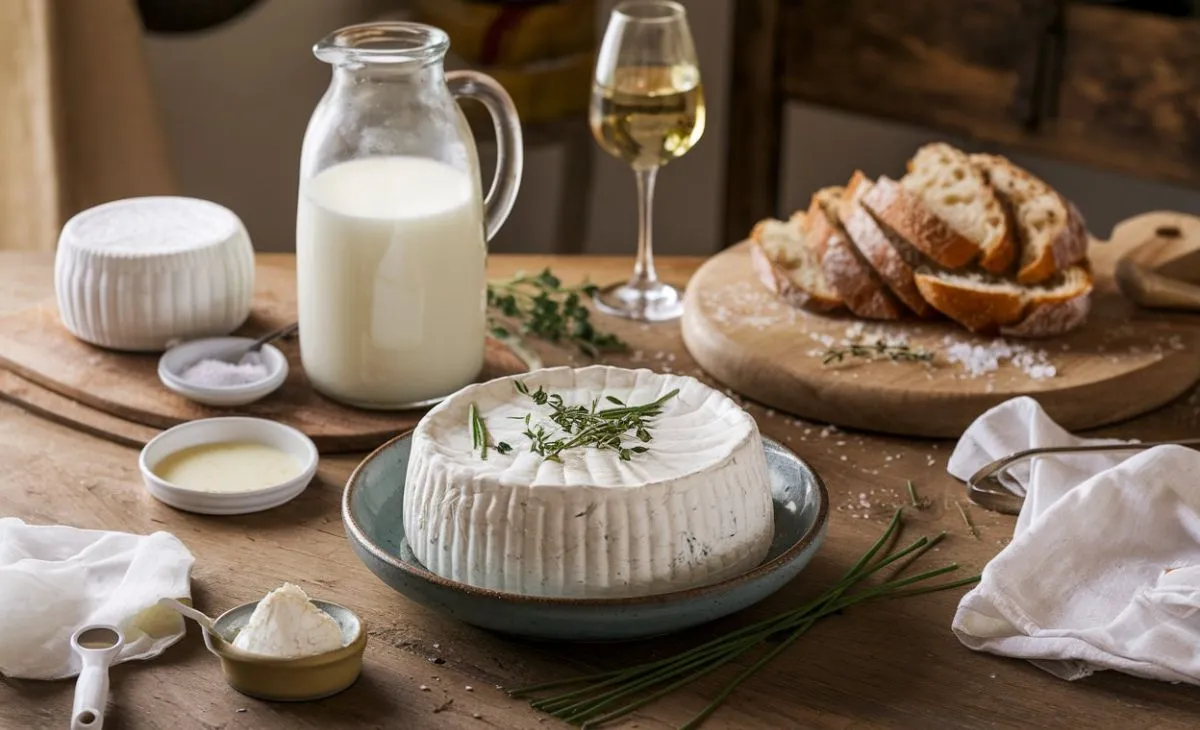
Chevre cheese, a delightful staple in French cuisine, is loved for its creamy texture and tangy flavor. This goat cheese is versatile, making it an ideal ingredient for various dishes. Whether you enjoy it spread on a fresh baguette or crumbled over a salad, chevre cheese elevates any meal. In this article, we will explore a simple chevre cheese recipe that allows you to create this delicious cheese at home.
Making chevre cheese is not only rewarding but also surprisingly easy. With just a few ingredients and some basic equipment, you can produce fresh and flavorful cheese. The process allows you to customize flavors, whether you prefer a classic taste or want to experiment with herbs and spices. This hands-on approach to cheese-making connects you with your food and enhances your culinary skills.
Furthermore, homemade chevre cheese offers numerous advantages over store-bought options. You can control the quality of the ingredients and adjust the flavor to suit your preferences. Additionally, making cheese at home can be a fun activity to share with family and friends. It transforms cooking into a creative experience, and you’ll be proud to serve your own handcrafted chevre.
Finally, exploring the world of chevre cheese opens up exciting culinary possibilities. This creamy cheese pairs well with fruits, vegetables, and various dishes, making it a versatile choice. By following our chevre cheese recipe, you can discover the joy of making your own cheese and enhance your culinary repertoire. So, let’s get started on this delicious journey!
Gathering Your Ingredients and Tools
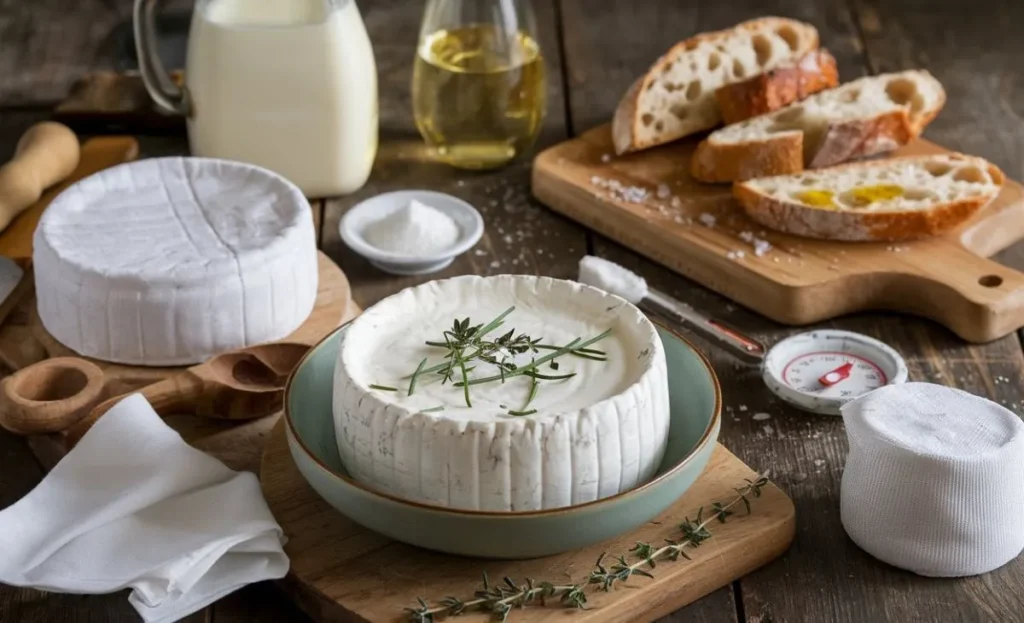
Before diving into your chevre cheese recipe, it’s essential to gather the right ingredients and tools. This preparation ensures a smooth cheese-making process. Start by collecting fresh goat’s milk, which is the primary ingredient in this delightful cheese. High-quality milk will significantly impact the flavor and texture of your final product. Additionally, you will need cheese culture and rennet, which are crucial for curd formation. These ingredients can be found at specialty stores or online, making them accessible for home cheesemakers.
Next, assemble the necessary tools to make your cheese-making experience efficient. You will need a large stainless-steel pot for heating the milk. A thermometer is essential to monitor the temperature accurately, ensuring the milk reaches the right heat for culturing. Also, have a slotted spoon handy for stirring the curds and whey during the process. A cheese mold or a fine cheesecloth will help shape your cheese and drain excess whey effectively.
Furthermore, consider investing in a cheese press if you plan to make chevre cheese regularly. While it’s not mandatory for this recipe, it can streamline the process and yield a firmer texture. Having a clean work surface is vital, so be sure to sanitize your tools and environment to prevent contamination. This attention to detail sets the foundation for a successful cheese-making experience.
Finally, gathering everything before you start will help you stay organized and focused. Once you have your ingredients and tools ready, you’ll feel more confident about the process. This preparation transforms your kitchen into a cheesemaking haven, making the journey enjoyable. Now that you’re set, let’s move on to the exciting part: making your own delicious chevre cheese!
Step-by-Step Process to Make Chevre Cheese
Creating your own chevre cheese at home is a rewarding culinary adventure! With this easy chevre cheese recipe, you can enjoy fresh, creamy cheese that elevates any dish. Follow these simple steps, and you’ll be on your way to crafting delicious homemade chevre that will impress your friends and family. Let’s get started!
Ingredients:
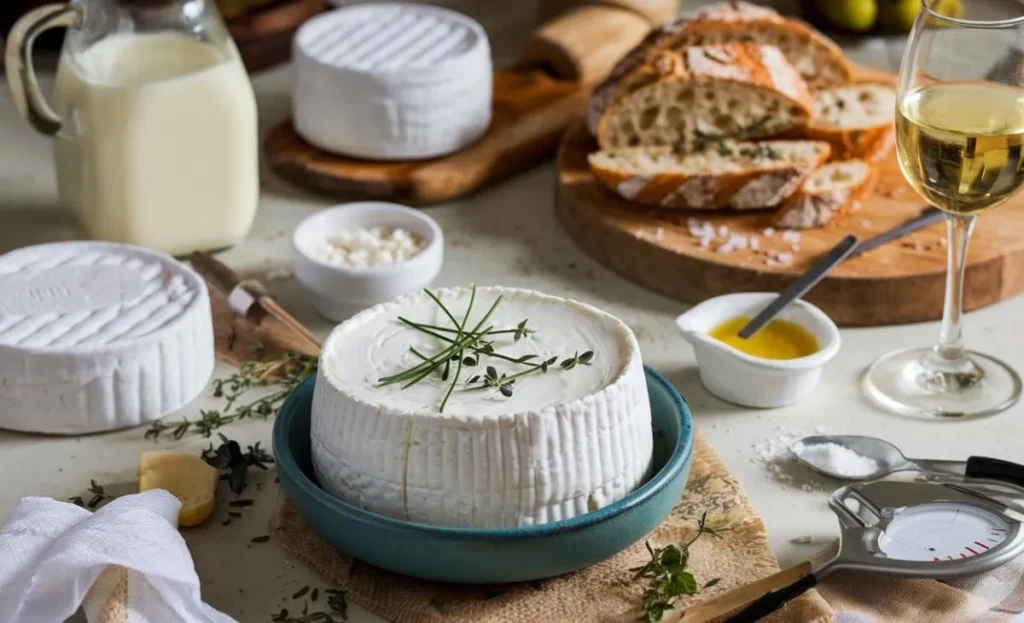
- 1 gallon of fresh goat’s milk
- 1/4 teaspoon mesophilic starter culture (such as MA4001 or MA4002)
- 1/4 teaspoon liquid rennet
- 1 teaspoon salt (or to taste)
Instructions:
- Heat the Milk:
Begin by pouring the goat’s milk into a large stainless-steel pot. Gently heat the milk over low to medium heat until it reaches 86°F (30°C). Use a thermometer to monitor the temperature accurately. - Add the Starter Culture:
Once the milk reaches the desired temperature, remove it from the heat. Sprinkle the mesophilic starter culture over the surface of the milk and let it rehydrate for about 1-2 minutes. Then, gently stir it in with a slotted spoon, ensuring it’s fully incorporated. - Add Rennet:
Dilute the liquid rennet in a few tablespoons of cool, non-chlorinated water. Slowly pour the rennet mixture into the milk while stirring gently for about 30 seconds. Cover the pot with a lid or clean kitchen towel and let it sit undisturbed for 12-24 hours at room temperature, allowing the curds to form. The milk will thicken and form a gel-like consistency. - Cut and Drain the Curds:
After the curds have set, cut them into 1-inch cubes with a long knife. Allow the curds to rest for 5-10 minutes. Then, gently stir the curds for about 10-15 minutes to help them firm up. Next, line a colander with cheesecloth and carefully ladle the curds into it. Allow the whey to drain for about 1-2 hours, depending on your desired consistency. - Add Salt and Shape the Cheese:
Once drained, transfer the curds to a mixing bowl. Sprinkle the salt over the cheese and mix well. If you prefer, you can also add herbs or spices at this stage for added flavor. Pack the cheese into molds or shape it into a log. Wrap it in cheesecloth and refrigerate for at least 4 hours before serving. This will help the flavors develop further.
Congratulations! You’ve successfully made your own chevre cheese. This homemade delicacy is perfect for spreading on bread, adding to salads, or enjoying with fruits. By following this simple chevre cheese recipe, you can enjoy the satisfaction of crafting your own delicious cheese right in your kitchen!
Flavoring Your Chevre: Herbs and Spices
Once you’ve mastered the basic chevre cheese recipe, it’s time to explore the exciting world of flavoring! Chevre cheese is incredibly versatile and can be enhanced with various herbs and spices to create unique flavor profiles. By experimenting with different combinations, you can customize your cheese to suit any palate. This personalization makes your homemade chevre even more enjoyable and perfect for various dishes.
Herbs are an excellent way to add freshness to your chevre. For example, classic options like thyme, rosemary, and basil impart a delightful aroma and flavor. Simply chop fresh herbs finely and mix them into the cheese after it has drained. You can also try more adventurous choices like chives or tarragon for a unique twist. Adding herbs not only enhances the taste but also gives your chevre an appealing visual aspect.
Spices can elevate your chevre cheese even further. Consider adding cracked black pepper for a mild kick or smoked paprika for a hint of smokiness. For those who enjoy a touch of heat, try incorporating red pepper flakes or cayenne pepper. Remember to start with small amounts and adjust according to your taste preferences. Blending spices into your cheese allows you to create a flavorful and aromatic spread.
Finally, don’t hesitate to get creative with flavor combinations. You can mix herbs and spices or even add other ingredients like garlic or lemon zest for an extra zing. The key is to experiment and find what works best for your palate. By flavoring your chevre, you transform a simple cheese into a gourmet delight. Enjoy your culinary journey and impress your guests with your delicious, homemade chevre cheese!
Storing Your Homemade Chevre Cheese
After creating your delicious homemade chevre cheese, proper storage is essential to maintain its freshness and flavor. Following the right steps ensures that your cheese stays at its best for longer. This knowledge enhances your overall experience with your chevre cheese recipe, allowing you to enjoy it over time.
To store your chevre, first, place it in an airtight container. This helps prevent exposure to air, which can cause the cheese to dry out or develop off-flavors. If you used herbs or spices in your cheese, be sure to label the container accordingly. This way, you can easily remember the flavor profile when you’re ready to enjoy it again. Additionally, covering the cheese with a layer of olive oil can help preserve its moisture while adding extra flavor.
Refrigeration is crucial for maintaining the quality of your homemade chevre. Ideally, store the cheese in the fridge at a temperature between 35°F and 40°F (1°C to 4°C). Under these conditions, your chevre should stay fresh for up to two weeks. However, it’s essential to monitor it regularly for any signs of spoilage, such as an unusual smell or discoloration. If you notice any changes, it’s best to discard the cheese to ensure food safety.
For longer storage, consider freezing your chevre cheese. Wrap it tightly in plastic wrap, then place it in a freezer-safe bag or container. While freezing may alter the texture slightly, it helps preserve the cheese for up to three months. When you’re ready to use it, simply thaw the cheese in the refrigerator. With these storage tips, you can enjoy your homemade chevre cheese at its freshest, maximizing your enjoyment of this delightful treat!

Creative Ways to Use Chevre in Your Cooking
Once you’ve mastered your homemade chevre cheese recipe, it’s time to explore creative ways to incorporate it into your cooking. Chevre’s creamy texture and tangy flavor make it a versatile ingredient that can elevate various dishes. By experimenting with chevre, you can enhance both everyday meals and special occasions, impressing your family and friends.
One delightful way to enjoy chevre is by spreading it on crusty bread or crackers. Simply top the spread with your favorite herbs, spices, or a drizzle of honey for an elegant appetizer. Additionally, adding seasonal fruits like figs or pears can provide a beautiful contrast in flavor and texture. This simple yet sophisticated dish is perfect for entertaining or as a delightful snack.
Chevre also shines in salads, adding creaminess and depth to your greens. Consider crumbling fresh chevre over a bed of mixed greens with roasted vegetables. A light vinaigrette made from olive oil, balsamic vinegar, and herbs complements the cheese beautifully. For a heartier option, mix chevre into grain salads, where its creaminess balances the nuttiness of grains like quinoa or farro.
Finally, use chevre in savory baked dishes to create a gourmet touch. Incorporate it into pasta dishes, risottos, or stuffed vegetables. Chevre melts beautifully, making it an excellent addition to creamy sauces. You can also blend it into omelets or frittatas for a delightful breakfast option. With these creative ideas, your homemade chevre will become a staple in your kitchen, inspiring you to cook delicious meals every day!
Troubleshooting Common Chevre-Making Issues
Making chevre cheese at home can be a rewarding experience, but sometimes things don’t go as planned. Understanding common issues can help you troubleshoot effectively and ensure a delicious outcome. By addressing these problems, you can refine your chevre cheese recipe and enjoy your homemade creation to the fullest.
One common issue is that your chevre may not be setting properly. This can happen if the milk is not warm enough when adding the starter culture. To resolve this, ensure the milk temperature reaches around 85°F (29°C) before adding the culture. Additionally, using fresh, high-quality milk can greatly impact the curdling process. If you find the cheese remains too soft, consider increasing the incubation time slightly to allow it to firm up.
Another potential issue is an off or bitter taste in your chevre. This can occur if the cheese is exposed to contaminants during the process. To prevent this, always use sanitized equipment and clean your workspace thoroughly. Also, ensure that you store your cheese correctly to avoid spoilage. If you notice an unpleasant flavor, it may be best to discard the batch and start fresh, applying these preventative measures.
Lastly, texture can sometimes be a concern. If your chevre ends up grainy or crumbly, it may be due to overworking the curds. Remember to handle the cheese gently during the draining process. If you prefer a creamier texture, you can blend the cheese with a bit of cream or milk after draining. By troubleshooting these common issues, you can master your chevre cheese recipe and enjoy delicious results every time!
Top 5 Chevre Cheese Recipes for Gourmet Appetizers Everyone Will Love

