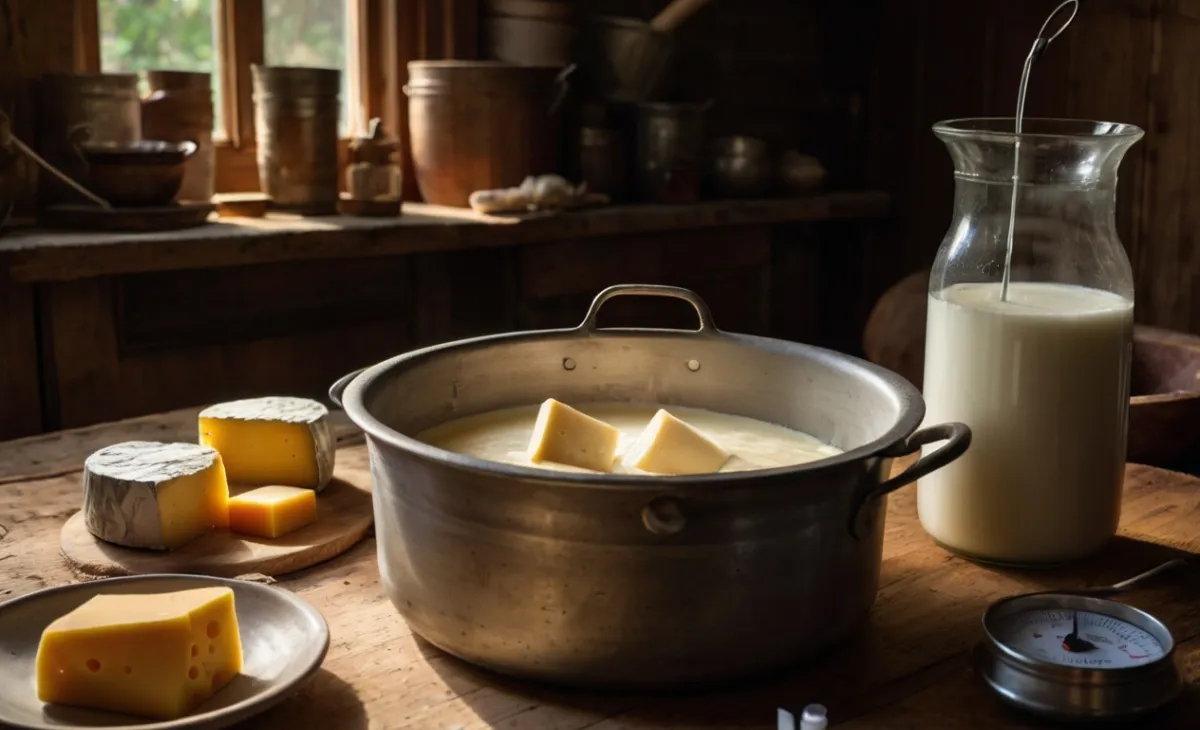
How Cheese is Made Step by Step: Understanding the Process from Start to Finish
How Cheese is Made Step by Step: Understanding the Process from Start to Finish
Imagine for a moment: you’ve created your own cheese from scratch. You’ve taken a simple jug of milk and transformed it into a creamy, flavorful delight. Not only does this homemade cheese taste uniquely delicious, but you’re also a part of a centuries-old tradition, working with ingredients and techniques that have been passed down through generations. Making cheese from start to finish is more than a process—it’s an art form and a science that combines precise techniques with a dash of creative flair.
In this guide, you’ll learn how cheese is made step by step in a way that brings joy and satisfaction to your kitchen. We’ll break down each phase, from milk preparation to aging, so you can make cheese with confidence. Let’s explore the steps, tools, and ingredients needed to make cheese at home, along with a couple of easy recipes to try.
The Essentials of Cheese Making
What is Cheese?
At its core, cheese is a deliciously preserved form of milk, transformed by beneficial bacteria, enzymes, and aging. This dairy product’s history stretches back thousands of years, with countless variations worldwide. Whether it’s a creamy brie, a sharp cheddar, or a crumbly feta, every cheese has its own unique characteristics based on the milk, cultures, and techniques used. Understanding these factors will make the journey from milk to cheese much smoother.
The Science Behind Cheese Making
Cheese-making blends biology and chemistry in a fascinating way. The basic process involves fermenting milk with bacteria that turn lactose (the sugar in milk) into lactic acid. This acidification sets off a chain reaction where enzymes in rennet (a milk-coagulating substance) cause proteins and fats in the milk to form solid curds, separating from the liquid whey. Every decision you make in cheese-making—from the type of milk and cultures to the length of aging—affects the flavor, texture, and quality of your final product.
Key Ingredients and Tools for Cheese Making
Essential Ingredients
- Milk: The type of milk you choose—cow, goat, or sheep—defines the cheese’s flavor, texture, and richness. Cow’s milk is common and versatile, while goat milk produces a distinctive tang and sheep milk is known for its creamy texture.
- Cultures: These starter cultures are strains of bacteria that begin the fermentation process, developing the cheese’s flavor. Mesophilic cultures work best for soft and semi-hard cheeses, while thermophilic cultures are ideal for high-heat varieties like parmesan.
- Rennet: Rennet contains enzymes that cause milk to coagulate and separate into curds and whey. Animal-based rennet is traditional, though vegetarian rennet options are also available.
- Salt: Salt not only enhances flavor but also acts as a preservative and moisture regulator, essential for achieving the right texture.
Necessary Equipment
Having the right tools will ensure smooth cheese-making. Here are the essentials:
- Thermometer: Precision is key, so a food-grade thermometer helps you monitor the milk’s temperature.
- Cheese Molds: These help shape and drain the curds. They come in various shapes and sizes, which can impact the appearance of the final product.
- Cheesecloth: Essential for draining curds, a cheesecloth keeps everything contained during the draining and molding process.
- Pots and Colanders: A large, heavy-bottomed pot for heating milk evenly and a colander for straining curds are essential.
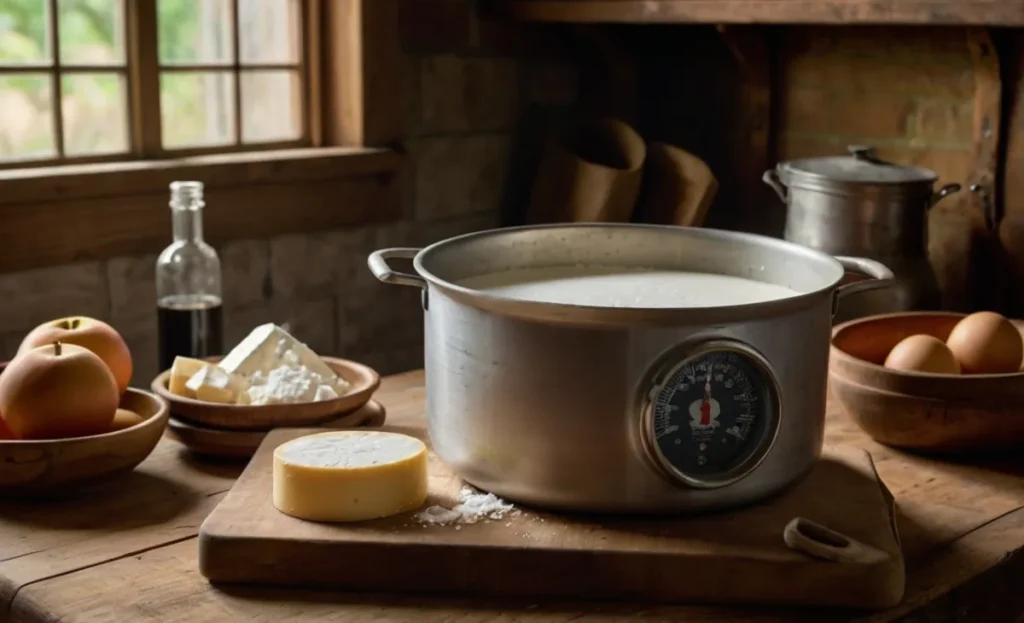
Here’s a quick look at the basic equipment in a table format (border size 2px for clarity):
| Equipment | Description | Purpose |
|---|---|---|
| Thermometer | Measures temperature precisely | Essential for curd formation |
| Cheese Molds | Shapes and drains curds | Adds shape to the final cheese |
| Cheesecloth | Fine-mesh cloth | Drains curds |
| Large Pot | Heavy-bottomed pot | Even heating of milk |
| Colander | Used for straining | Separates curds from whey |
How Cheese is Made Step by Step
Step 1: Preparing the Milk
High-quality milk is the foundation of good cheese. Start by heating the milk to a specific temperature, typically between 86°F and 90°F. This temperature range provides an optimal environment for bacteria growth. Using pasteurized milk is recommended for beginners, as it’s safer and easier to work with, but raw milk can add distinct flavors if handled correctly.
Step 2: Adding Starter Cultures
Once your milk reaches the desired temperature, you’ll add starter cultures, which begin the fermentation process. These cultures contain beneficial bacteria that feed on lactose, turning it into lactic acid. This acidification process impacts the cheese’s flavor, texture, and shelf life. Allow the milk to “ripen” by letting it sit for a designated time to develop the flavors and prepare it for curdling.
Step 3: Adding Rennet to Form Curds
Rennet is the next addition. This enzyme coagulates the milk, creating a gel-like consistency that can then be separated into curds and whey. Measure and mix the rennet according to your recipe, as too much or too little can alter the texture of the cheese. As you add the rennet, the milk will start to thicken and solidify. Let it sit undisturbed until you can make a clean cut through the curd with a knife, usually 30 to 60 minutes.
Step 4: Cutting the Curds
Cutting the curds into smaller pieces allows more whey to drain and affects the final cheese’s moisture content. Smaller curds yield drier, firmer cheese, while larger curds retain more moisture, resulting in a softer texture. Using a long knife, cut the curd into even cubes, then gently stir them to keep them from clumping.
Step 5: Cooking the Curds
After cutting, gently heat the curds to encourage whey release. This “cooking” process firms up the curds by shrinking them slightly. For harder cheeses, you’ll need to reach a higher temperature, while softer cheeses require lower heat. Stir the curds gently to prevent sticking and encourage even cooking.
Step 6: Draining the Whey
Draining is essential for removing excess moisture from the curds. Pour the curds into a cheesecloth-lined colander and allow the whey to drain naturally. For drier cheese, you may press the curds to expel more whey. You can even save the whey for smoothies, soups, or baking; it’s rich in protein and has a tangy flavor.
Step 7: Salting the Cheese
Salting serves several purposes. It enhances flavor, controls moisture, and acts as a preservative. You can salt cheese by either adding it directly to the curds or soaking the cheese in a saltwater brine. Brining is especially common for cheeses like feta, while other varieties benefit from surface salting.
Step 8: Aging Your Cheese (Optional)
Aging cheese allows flavors to deepen and evolve over time. For those interested in hard, complex cheeses, aging is a crucial step. Store your cheese in a cool, humid environment, ideally between 50°F and 55°F. Flip the cheese regularly to promote even aging, and check for mold, wiping it off with a brine-soaked cloth if necessary.
Simple Cheese Recipes to Try at Home
Recipe 1: Fresh Ricotta
Ingredients Table (border size 2px)
| Ingredient | Quantity | Notes |
|---|---|---|
| Whole Milk | 1 gallon | Preferably pasteurized |
| White Vinegar | ¼ cup | Used to curdle the milk |
| Salt | 1 tsp | Adjust to taste |
- Heat the milk to 195°F, then stir in vinegar until curds form.
- Allow curds to sit for 10 minutes, then strain through cheesecloth.
- Add salt to taste and enjoy fresh.
Recipe 2: Quick Mozzarella
Ingredients Table (border size 2px)
| Ingredient | Quantity | Notes |
|---|---|---|
| Whole Milk | 1 gallon | Full-fat preferred |
| Citric Acid | 1.5 tsp | Dissolved in water |
| Liquid Rennet | ¼ tsp | Diluted in water |
| Salt | 1 tbsp | Optional for flavor |
- Heat milk to 90°F, add citric acid, then add rennet and let curds form.
- Cut curds, heat gently, drain, and stretch until smooth.
- Shape into balls, add salt if desired, and enjoy!
Troubleshooting Common Cheese-Making Issues
- Curds Not Forming: Check your rennet and milk type, and ensure you’ve reached the right temperature.
- Bitter or Off-Taste: This could result from improper acidification or over-aging. Use fresh ingredients and monitor temperatures closely.
- Texture Too Soft or Too Firm: Adjust your curd-cutting technique or cooking time to achieve the right consistency.
FAQs About How Cheese is Made Step by Step
- Can I Make Cheese Without Rennet?
Yes, certain fresh cheeses like paneer or ricotta don’t require rennet. They rely on acidity from lemon juice or vinegar to curdle the milk. - What Type of Milk is Best for Cheese Making?
Whole milk is ideal, though cow, goat, and sheep milk each have unique characteristics that impact flavor and texture. - How Long Does Homemade Cheese Last?
Fresh cheeses can last up to a week in the fridge, while aged cheeses can be stored for months under proper conditions. - Is Cheese-Making Safe?
As with any food preparation, hygiene is key. Clean equipment, safe milk handling, and correct temperatures ensure a safe and delicious result.
Conclusion
Making cheese at home is rewarding and a wonderful way to connect with traditional culinary techniques. By following each step carefully, you can create cheeses that are uniquely yours. So why not give it a try? Gather your ingredients, set up your tools, and discover the joys of cheese-making. Whether you’re after a quick ricotta or a flavorful mozzarella, the experience will be as satisfying as the cheese itself. Enjoy this new skill, and don’t be surprised if you’re tempted to explore even more cheese varieties in your kitchen.
