How Cheese is Made Step by Step: A Beginner’s Guide to Cheesemaking
How Cheese is Made Step by Step: A Beginner’s Guide to Cheesemaking
Cheesemaking is both an art and a science, blending patience, technique, and a bit of magic to transform humble milk into something utterly delicious. Whether you’re simply curious about the process or eager to dive in and try making cheese at home, this guide will walk you through how cheese is made step by step. In this article, you’ll learn the basics of cheesemaking, essential tools and ingredients, and how to make your first batch of cheese with easy-to-follow instructions. By the end, you’ll feel confident in your ability to create a variety of cheeses and understand the intricacies of this rewarding craft.
The Basics of Cheesemaking
Before you begin the cheesemaking process, it’s important to understand a few fundamentals about how cheese is made. The process starts with milk, but there’s a bit more to it than just heating and curdling. Cheesemaking involves a few key elements that work together to form the texture and flavor of the cheese. Here are the essential building blocks of the cheesemaking process.
What You Need to Know About Milk
Cheese is made from milk, and the type of milk you use can significantly affect the final product. While most people use cow’s milk, you can also make cheese from the milk of goats or sheep. The milk should be as fresh as possible, and the fat content will influence the texture and richness of the cheese. Whole milk is ideal, but you can experiment with lower-fat options depending on the cheese you want to make.
The Role of Starter Cultures and Rennet
Starter cultures are responsible for fermenting the milk, contributing to both the flavor and the texture of your cheese. These are typically a combination of bacteria that convert the milk sugars (lactose) into lactic acid, which is essential for the curdling process.
Rennet is an enzyme that helps coagulate the milk, turning it from liquid into curds and whey. While rennet can be derived from the stomach lining of animals, vegetarian and microbial alternatives are also available.
Salt: Essential for Flavor and Preservation
Salt is not only crucial for flavoring your cheese, but it also helps preserve it. It draws out excess moisture, prevents unwanted bacterial growth, and encourages the development of a rind. The amount of salt used varies depending on the type of cheese you’re making.
Tools You’ll Need for Cheesemaking
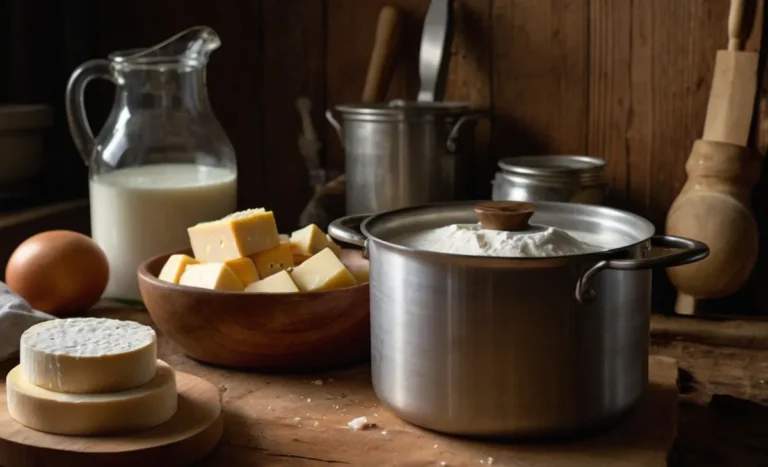
Making cheese at home doesn’t require a lot of specialized equipment, but having the right tools will make the process much easier. Here’s a list of the essentials you’ll need:
- Large pot: To heat your milk.
- Thermometer: To ensure the milk reaches the correct temperature for curdling.
- Cheesecloth: For draining the whey from the curds.
- Cheese molds: To shape the cheese.
- Knife: To cut the curds.
- Large spoon: To stir the curds and whey.
Step-by-Step Guide to Making Cheese
Now that you understand the basic components, it’s time to dive into the actual process. The following is a step-by-step guide that breaks down the cheesemaking process into manageable stages. With each step, we’ll explain what to do and why it’s important.
Step 1: Heating the Milk
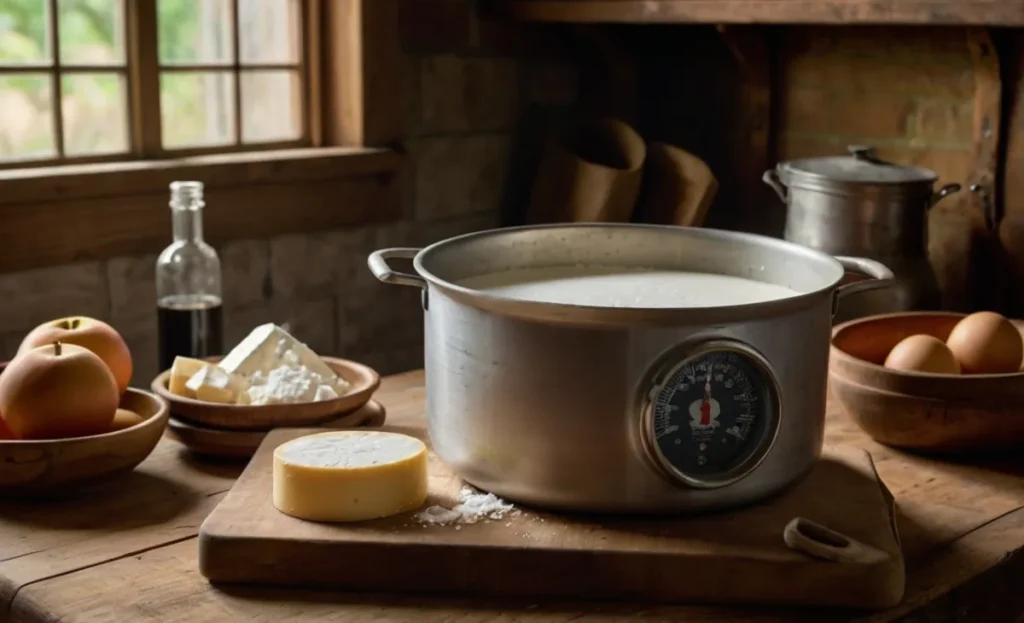
The first step in making cheese is heating the milk. Pour your milk into a large pot and gradually heat it to about 85°F (29°C). This temperature is warm enough to allow the cultures to work without curdling the milk prematurely. Stir occasionally to ensure the milk heats evenly, and always monitor the temperature closely with your thermometer.
Why this step is important: The right temperature ensures that the starter cultures will activate properly and begin fermenting the milk. Too high a temperature could kill the cultures, and too low a temperature may prevent them from working.
Step 2: Adding Starter Cultures and Rennet
Once the milk is heated to the correct temperature, it’s time to add your starter cultures. Sprinkle the culture into the milk, then stir it in gently. After the culture has been evenly distributed, you’ll add the rennet. Dissolve the rennet in a small amount of water before adding it to the milk. Stir gently to mix it in.
Why this step is important: The starter culture introduces bacteria that acidify the milk, while the rennet causes the milk to coagulate, forming curds. This step is crucial to creating the desired texture in your cheese.
Step 3: Cutting the Curd
Once the milk has coagulated, you’ll notice that the mixture has separated into curds (solid) and whey (liquid). At this point, you need to cut the curds to help release the whey. Use a long knife or curd cutter to slice the curds into small cubes, about 1/2 inch in size.
Why this step is important: Cutting the curds helps speed up the release of whey, and the size of the curds will affect the texture of your cheese. Smaller curds tend to produce a firmer cheese.
Step 4: Cooking the Curd
Next, you’ll need to gently heat the curds to about 105°F (40°C), stirring occasionally. This process helps the curds expel more whey and become firmer. Keep the curds moving gently to ensure they cook evenly and don’t clump together.
Why this step is important: The heat helps expel moisture from the curds, making the cheese firmer and drier. It also helps develop the texture and flavor of the cheese.
Step 5: Draining the Curd
Once the curds have reached the desired consistency, it’s time to drain the whey. Place a colander lined with cheesecloth over a large bowl or sink. Carefully pour the curds and whey into the colander, allowing the whey to drain out. You can gently gather the edges of the cheesecloth to help strain the curds more effectively.
Why this step is important: Draining removes the excess whey, which is essential for creating the right texture in the cheese. The longer you drain the curds, the firmer the cheese will be.
Step 6: Pressing the Cheese
After draining, you’ll need to press the curds into a mold to shape the cheese and compact the curds. Place the curds into the mold and press them gently to remove any remaining whey. You can apply a small weight to the mold to help with pressing.
Why this step is important: Pressing helps form the cheese into its final shape and removes any remaining moisture. It also ensures that the cheese has a firm texture.
Step 7: Salting and Aging
Once your cheese is pressed, it’s time to salt it. Sprinkle salt on the surface of the cheese, rubbing it in gently. Some cheeses may require more salt or soaking in a brine solution. After salting, the cheese will need to age. The aging process can take anywhere from a few days to several months, depending on the type of cheese.
Why this step is important: Salt helps flavor the cheese and preserves it. Aging allows the flavors to develop and the texture to improve.
Troubleshooting Common Cheesemaking Problems
Even the most experienced cheesemakers run into problems occasionally. Here are some common issues and how to fix them:
- Curds not forming: If your milk doesn’t coagulate, it could be that the temperature was too low or the rennet was too old. Make sure you’re using fresh rennet and maintaining the correct temperature.
- Too much whey: If you’re left with too much whey, it could be that the curds were too small or weren’t cooked long enough. Try cutting larger curds or cooking them for a bit longer.
- Grainy texture: Grainy cheese can result from not cutting the curds small enough or not cooking them enough. Try cutting the curds smaller and cooking them a little longer.
Types of Cheese You Can Make at Home
Once you’ve mastered the basic process, you can experiment with making different types of cheese. Here are a few types of cheese that are ideal for beginners:
- Mozzarella: A soft cheese that’s perfect for beginners. It requires minimal aging and can be made in just a few hours.
- Ricotta: Another soft cheese that’s easy to make. It’s great for fresh cheeses and doesn’t require a lot of specialized equipment.
- Cheddar: A popular, aged cheese that requires more time and patience but is well worth the effort.
Tips for Cheesemaking Success
- Be patient: Cheesemaking is a process that requires time and care.
- Invest in quality ingredients: The better your ingredients, the better your cheese will be.
- Start with easy recipes: Begin with fresh cheeses that don’t require aging, and move on to more complex recipes as you gain experience.
Conclusion: Start Your Cheesemaking Journey Today!
Making cheese at home is a rewarding and satisfying experience. Once you understand the process and have the right tools, you can begin creating your own delicious cheeses. Whether you’re making fresh mozzarella, sharp cheddar, or soft ricotta, each cheese you make will be a reflection of your effort and skill. So why not start today? Gather your ingredients, set up your tools, and begin your cheesemaking adventure. You’ll soon be enjoying the fruits of your labor—and impressing your friends and family with your homemade creations!

