How Cheese is Made Step by Step: A Complete Guide for Beginners
How Cheese is Made Step by Step: A Complete Guide for Beginners
Imagine sitting down to enjoy a rich, creamy slice of cheese that you made from scratch. The world of cheesemaking may seem like a distant mystery, but it’s actually more accessible than you might think. From humble milk to a beautifully aged wheel of cheese, each stage is a rewarding process. In this guide, you’ll explore how cheese is made step by step, demystifying the process so you can get started on your own cheesemaking journey.
Whether you’re new to the craft or just looking to learn more, you’ll find that the process is simpler than it seems—and the results are worth every minute spent. Let’s dive into the essential steps for making cheese from start to finish.
The Basics of Cheesemaking: Understanding Ingredients and Tools
To begin, it’s crucial to understand the foundational elements of cheesemaking. At its core, cheese is made using four main ingredients: milk, starter culture, rennet, and salt. Each plays a distinct role in transforming liquid milk into a solid, flavorful cheese.
Ingredients
- Milk: The type of milk you choose has a profound impact on the cheese’s final flavor and texture. Cow, goat, and sheep milk are the most common choices, each bringing a unique taste and texture to the cheese. For beginners, cow’s milk is often the most accessible, but experimenting with other types can add exciting variety.
- Starter Culture: This is a blend of good bacteria that begins the process of acidifying the milk. By fermenting lactose into lactic acid, the culture helps curdle the milk and influences the cheese’s texture and flavor.
- Rennet: Rennet is an enzyme that causes milk to coagulate, forming a thick curd. While animal-based rennet is traditional, vegetarian and microbial options are available and work equally well for homemade cheese.
- Salt: Not only does salt add flavor, but it also acts as a preservative, extending the cheese’s shelf life. Salt also draws out excess moisture, enhancing the cheese’s texture.
Essential Tools
To succeed in cheesemaking, having the right tools is key. Here’s a quick guide to essential tools:
| Tool | Description | Where to Find |
|---|---|---|
| Thermometer | Measures milk temperature accurately | Online or kitchen supply stores |
| Cheesecloth | Helps in draining whey | Kitchen or craft stores |
| Molds | Shapes and holds the cheese during aging | Specialty cheese supply websites |
| Press (optional) | Adds weight for firmer cheese varieties | Specialty cheese supply websites |
Each of these tools supports a specific stage of cheesemaking. Now, let’s move through the steps involved.
Step 1: Preparing the Milk
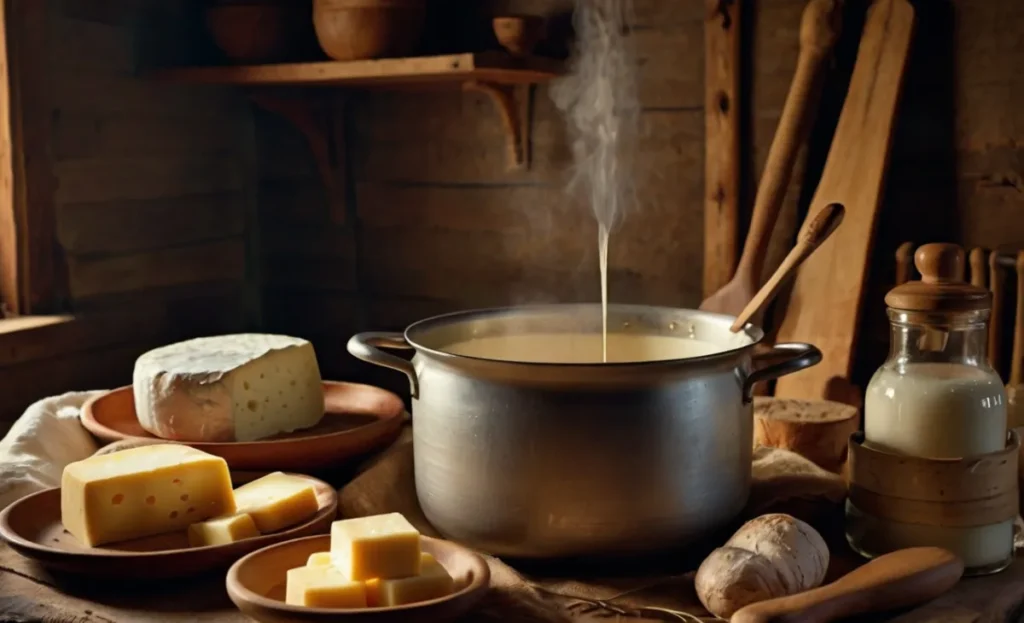
The journey to cheese begins with properly preparing your milk. First, pasteurize your milk to remove any unwanted bacteria—though raw milk can be used if desired, particularly for aged cheeses where aging will reduce bacteria levels.
Heating the Milk: Gently heat your milk to a specific temperature, typically between 85°F and 90°F, to prepare it for the next stages. Use your thermometer to monitor this closely, as accuracy is vital here.
Adding Starter Cultures: After the milk reaches the target temperature, sprinkle your chosen starter culture over the surface. Allow it to hydrate for a few minutes before stirring it in. The starter culture begins the acidification process, converting lactose into lactic acid and setting the stage for coagulation.
Step 2: Coagulating the Milk with Rennet
Once your milk has been properly acidified, it’s time to add rennet to form curds. This step is crucial as it transforms the milk from a liquid state into a soft, gel-like consistency.
What is Rennet? Rennet, either in liquid or tablet form, contains enzymes that encourage milk to coagulate. You’ll find both animal-based and vegetarian options available, so you can choose based on your preference.
Adding Rennet: Dilute your rennet in cool, chlorine-free water, then add it to the milk while stirring gently. After this, let the milk sit undisturbed for around 30-60 minutes. During this time, the milk will begin to solidify, forming a curd. You’ll know it’s ready when the curd has a clean break, which you can test by inserting a knife and lifting slightly to check for a distinct, clean separation.
Step 3: Cutting the Curd
Once the curd is set, it’s time to cut it. This step helps release whey and influences the cheese’s texture and firmness.
Why Cut the Curd? Cutting the curd into small pieces allows more whey to drain, ultimately creating a denser cheese. The size of the cuts impacts the final texture; smaller cuts yield a firmer cheese, while larger cuts retain more moisture for a softer cheese.
Technique: Use a long knife to make horizontal and vertical cuts in the curd, creating small cubes. Take your time, as consistency in size will help the cheese mature evenly. Once cut, allow the curds to rest for a few minutes, which will help them further firm up before moving to the next stage.
Step 4: Cooking and Stirring the Curd
Now that you’ve cut the curd, it’s time to cook and stir it. This step, known as “cooking,” expels more whey and firms up the curds.
Heating Process: Gradually increase the temperature of the curds to between 100°F and 120°F, depending on the cheese variety you’re making. Cooking at higher temperatures will create a firmer cheese with a more elastic texture.
| Cheese Type | Temperature Range | Cooking Time |
|---|---|---|
| Cheddar | 100°F – 102°F | 30-60 mins |
| Swiss | 108°F – 110°F | 45-60 mins |
| Parmesan | 115°F – 120°F | 60-90 mins |
Stirring Technique: Stir the curds gently and continuously to prevent them from sticking to the pot. The goal here is to remove as much whey as possible without breaking the curds too much. The curds should shrink and firm up as they cook.
Step 5: Draining the Whey and Shaping the Cheese
With the cooking stage complete, the curds are ready to be drained. Proper draining and shaping set the foundation for your cheese’s final look and feel.
Removing Whey: Use a cheesecloth-lined colander to pour out the curds and separate the whey. The whey can be discarded, though it’s often saved for other culinary uses. Press the curds gently to remove any remaining whey.
Molding the Cheese: Once most of the whey is drained, place the curds into a cheese mold. Some cheeses, like soft cheeses, may need only gentle molding, while harder cheeses benefit from being pressed. Molds give the cheese its signature shape and ensure even moisture distribution as it ages.
Step 6: Salting and Aging
The final steps in cheesemaking are salting and, in many cases, aging. Salt not only adds flavor but also preserves the cheese, and aging allows for complex flavors to develop.
Salting Techniques: Salting can be done in two primary ways—dry salting or brining. Dry salting involves sprinkling salt over the cheese’s surface, while brining requires soaking the cheese in a saltwater solution.
Aging (if applicable): Aging is essential for many cheeses as it allows them to mature and develop flavor. For beginners, a simple aging setup in a cool, dark place will work. Cheeses like Cheddar or Gouda require weeks or months, while fresh cheeses like ricotta can be enjoyed immediately.
Conclusion
Cheesemaking may seem daunting, but following these steps simplifies the process. From heating milk to salting and aging, each stage brings you closer to enjoying a slice of homemade cheese. Now that you understand how cheese is made step by step, why not try crafting your own? Gather your ingredients, take your time with each step, and let the magic of cheesemaking reward you with a delicious, handmade creation.
FAQ Section
- What type of milk is best for making cheese?
- While cow’s milk is common, goat and sheep milk also work well. Each type offers a unique flavor profile and texture.
- How long does it take to make cheese?
- Fresh cheeses take a few hours, while aged cheeses can take weeks to months. Patience pays off in cheesemaking.
- What are common mistakes beginners make in cheesemaking?
- Beginners often overlook temperature control, curd cutting size, and draining time. Accurate measurements and patience are essential for successful results.
By exploring the steps and giving it a try, you’ll not only learn how cheese is made but also gain a new appreciation for the craft. Start your cheesemaking journey today and savor the delicious results!
