Exploring the Art of Cheesemaking: How Cheese is Made Step by Step at Home
How Cheese is Made Step by Step: A Comprehensive Guide to Homemade Cheesemaking
Imagine this: your kitchen filled with the comforting aroma of warm, fresh cheese, crafted by your own hands. The art of cheesemaking might seem daunting, but when broken down, it’s an accessible, rewarding endeavor that brings you closer to culinary traditions that date back centuries. This guide will show you how cheese is made step by step at home, turning milk and a few simple ingredients into a masterpiece you can savor.
The Basics of Cheesemaking: What You Need to Get Started
Before you dive into the cheesemaking process, it’s crucial to set yourself up with the right ingredients and equipment. The foundation of great homemade cheese is high-quality milk. Whether you prefer cow’s milk, goat’s milk, or even sheep’s milk, ensure it’s as fresh as possible. The fat content of your milk will influence the flavor and texture of the final product, so it’s worth experimenting to find what works best for your taste.
Essential Equipment:
- A large, heavy-bottomed pot for even heating.
- A cheese thermometer to maintain precise temperatures.
- Cheesecloth or butter muslin for draining curds.
- Molds for shaping the cheese.
- Rennet (either in tablet or liquid form) to aid curd formation.
- Starter cultures that promote the growth of beneficial bacteria.
Ingredients for Basic Cheesemaking:
| Ingredient | Amount |
|---|---|
| Fresh milk | 1 gallon |
| Rennet | 1/4 tablet or equivalent liquid form |
| Cheese salt | To taste |
| Starter culture | 1/4 tsp |
Step-by-Step Process of Cheesemaking at Home
Step 1 – Preparing the Milk
Begin by pouring your milk into the pot and placing it over low heat. Slowly warm the milk to around 86°F (30°C), depending on the type of cheese you’re making. Maintaining consistent heat is key, as uneven temperatures can affect the quality of the curds. Stir gently to prevent the milk from scorching at the bottom of the pot.
Step 2 – Adding the Starter Culture
Once the milk has reached the desired temperature, sprinkle the starter culture over the surface. Allow it to rehydrate for about a minute before gently stirring it in. This step kickstarts the process of lactic acid formation, which is vital for flavor development. Let the milk sit for 30 to 60 minutes so that the cultures can fully activate and work their magic.
Step 3 – Introducing Rennet and Curd Formation
Dilute the rennet in a small amount of cool, non-chlorinated water. Add this mixture to the milk, stirring slowly for about 30 seconds. Now comes a crucial step: let the milk sit undisturbed for approximately 45 minutes, during which time it will begin to set into a soft gel-like consistency. The curd is ready when you can insert a clean knife into it and pull it aside, revealing a clean break.
Step 4 – Cutting and Cooking the Curds
Using a long knife or curd cutter, slice the curd vertically and horizontally into uniform pieces. This step helps expel the whey, a byproduct of cheesemaking. Gradually raise the temperature to about 100°F (38°C) while stirring gently. This process can take up to 30 minutes and helps firm up the curds as they shrink and release more whey. The key here is patience and gentle handling; rough stirring can break the curds too much, resulting in a crumbly texture.
Step 5 – Draining the Whey and Molding the Cheese
Place a colander lined with cheesecloth over a bowl or sink and pour the curds and whey into it. Allow the whey to drain naturally, then bundle the cheesecloth into a pouch and press it lightly to remove excess moisture. Next, transfer the drained curds into a mold. For firmer cheeses, apply weight on top of the mold to press the curds and eliminate more whey. Depending on the type of cheese, pressing can range from a couple of hours to overnight.
Aging and Flavoring Cheese at Home
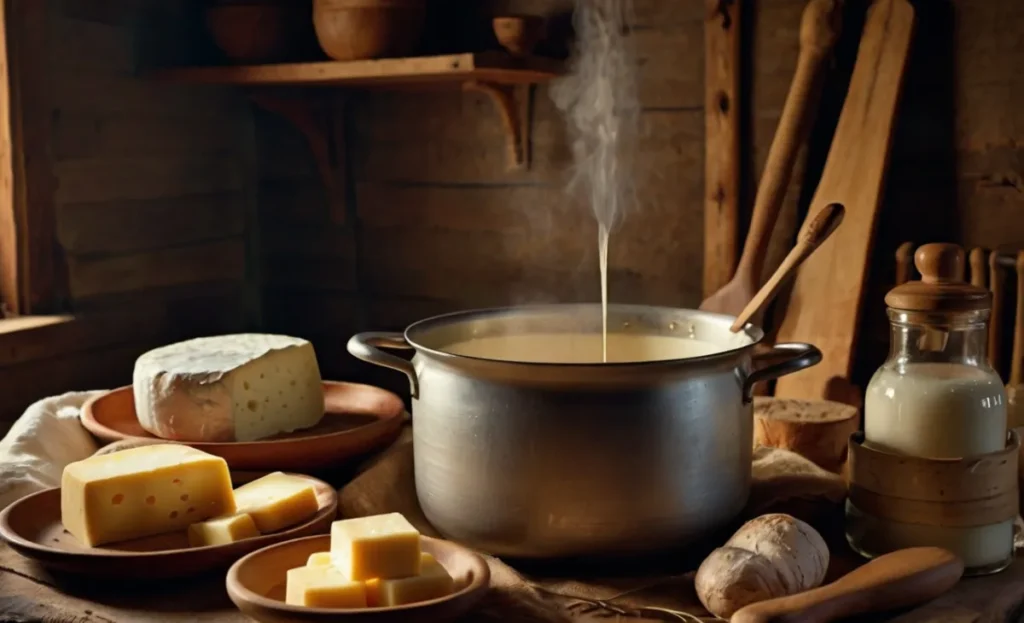
Cheese aging, or affinage, is an art in itself. The aging period varies widely, from a few days for fresh cheeses to several months for harder varieties. If you’re planning to age your cheese, create a suitable environment where the humidity and temperature can be controlled. A simple setup can include a dedicated mini fridge or a cool room.
To add unique flavors, try incorporating herbs like rosemary or thyme into the curds before pressing. Smoked elements or truffle oil can also introduce depth and complexity to your homemade cheese. Remember, the key to successful flavoring lies in moderation; you want to enhance the cheese, not overpower it.
Troubleshooting Common Cheesemaking Issues
Even seasoned cheesemakers face occasional hurdles. Here’s how to handle a few common challenges:
- Curds Not Forming Properly: Check the freshness and type of milk used. Ultra-pasteurized milk often doesn’t curdle well due to altered proteins.
- Overly Sour Cheese: Reduce the amount of starter culture or shorten the culturing time.
- Soft or Crumbly Texture: This may indicate insufficient pressing. Ensure that you’re applying enough weight during the pressing stage to expel moisture effectively.
Storing and Enjoying Your Homemade Cheese
Once your cheese has reached the desired texture and flavor profile, proper storage is essential to maintain its quality. For fresh cheeses, refrigeration in an airtight container works well. For aged varieties, wrap the cheese in wax paper and store it in a cool environment, changing the wrapping as needed to avoid mold growth.
Serving your homemade cheese at room temperature brings out its full flavor. Pair it with complementary foods like crusty bread, fresh fruits, or a glass of wine to elevate the tasting experience.
FAQ Section on Homemade Cheesemaking
How long does it take to make cheese step by step at home?
The entire process can take anywhere from a few hours to a full day, depending on the type of cheese you are making. Aging time varies from days to months.
Can I make cheese without rennet?
Yes, you can use alternative coagulants like lemon juice or vinegar, but these will yield a different texture and flavor profile.
What types of milk are best for cheesemaking?
Raw or pasteurized milk is ideal. Avoid ultra-pasteurized milk as it can inhibit curd formation due to its altered proteins.
How do I ensure a consistent flavor when making cheese?
Keep accurate notes of your process, including temperatures, times, and ingredient measurements, so you can replicate or tweak your recipe.
Conclusion
Embarking on the journey of making cheese step by step at home is more than just a cooking project—it’s a gateway into a world filled with tradition, experimentation, and satisfaction. With the basics covered and a bit of practice, you can transform simple milk into a rich array of cheeses to enjoy with friends and family. So, gather your tools, pick your milk, and start creating. You’ll soon find that few things are as rewarding as tasting your very own homemade cheese.
Start today and turn your kitchen into a mini fromagerie. The flavors you discover might just surprise you, and the experience is one you won’t soon forget.

