From Milk to Cheese: How Cheese is Made Step by Step for DIY Enthusiasts
How Cheese is Made Step by Step: A DIY Guide for Cheese Enthusiasts
Imagine the delight of savoring a cheese crafted entirely by your hands. There’s something profoundly fulfilling about transforming basic milk into an aromatic, flavor-rich block of cheese in your own kitchen. For those who crave culinary challenges, cheese-making is a journey that combines science with creativity. Whether you’re new to the process or looking to refine your skills, this step-by-step guide will help you master the art of cheese-making.
Let’s dive into the essentials of how cheese is made, exploring each phase of this rewarding craft.
Understanding the Basics of Cheese Making
What is Cheese?
Cheese is essentially a fermented dairy product made from milk, and its creation goes back thousands of years. Cheese-making involves coagulating the milk, separating curds from whey, and then pressing or aging the curds to form the cheese. There are hundreds of cheese varieties around the world, each with distinct flavors and textures, all shaped by the ingredients, bacteria, and aging conditions used.
The Science Behind Cheese Making
Cheese-making combines biology and chemistry in a beautiful way. The main players in this process are beneficial bacteria and enzymes that act on milk proteins and sugars. Lactic acid bacteria begin by fermenting lactose, the sugar in milk, producing lactic acid. This acidification process is critical because it affects the cheese’s texture, taste, and preservation.
Temperature, pH levels, and the type of milk all influence the final flavor and consistency of cheese. Understanding these interactions is key to producing cheese with your desired taste and texture.
Essential Ingredients and Tools for DIY Cheese Making
Basic Ingredients Needed
- Milk: The type of milk you use greatly impacts the flavor and texture of your cheese. Cow’s milk is popular and versatile, while goat’s milk adds a tangy quality, and sheep’s milk has a rich, creamy texture.
- Cultures: Starter cultures are added to milk to kickstart fermentation, developing flavor and preparing the milk for curdling. They introduce beneficial bacteria that influence the cheese’s final taste.
- Rennet: This natural enzyme is critical for coagulating milk and forming curds. Animal-based rennet is common, but there are vegetarian alternatives available.
- Salt: Besides adding flavor, salt acts as a preservative and helps control moisture.
Tools Required
Having the right tools makes cheese-making easier and more consistent. You’ll need:
- Cheese molds to shape and drain the cheese
- Thermometer for precise temperature control
- Cheesecloth for straining the curds
- Large pots for heating milk
- Optional tools, like cheese presses, for certain types of aged cheese
For beginners, you can start with these essentials, adding specialized equipment as you grow more confident in your craft.
How Cheese is Made Step by Step: The Process Unveiled
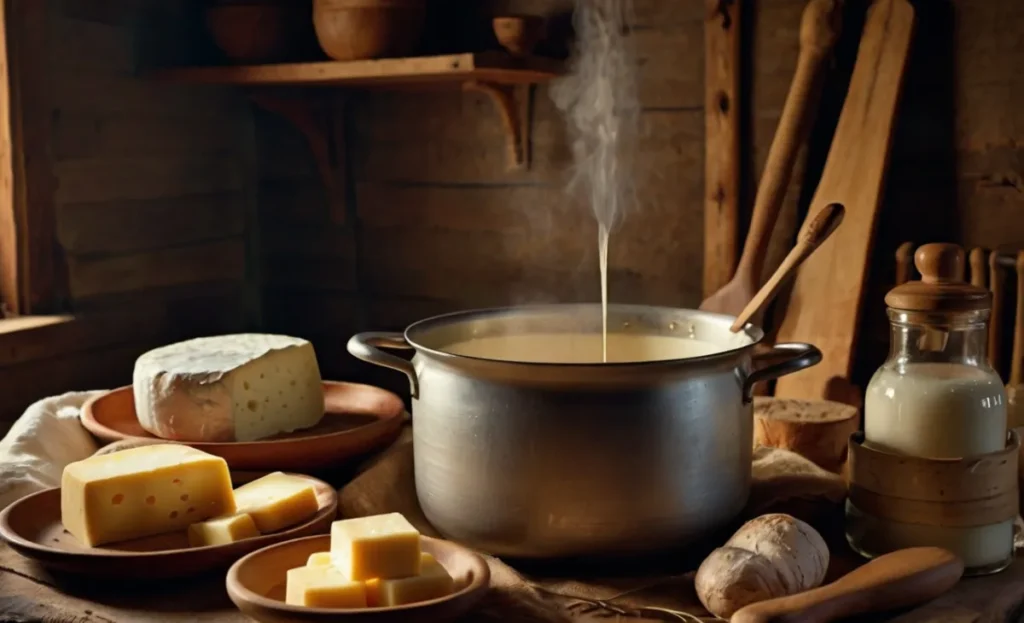
Cheese-making follows a series of precise steps. Let’s explore each one, from preparing the milk to aging your final product.
Step 1: Preparing the Milk
Cheese begins with high-quality milk. Pasteurized milk is often preferred for beginners because it’s free from potentially harmful bacteria. However, raw milk can be used if properly handled and adds unique flavors due to its natural bacteria.
Milk is heated to a specific temperature—often between 86°F and 90°F, depending on the recipe—creating an ideal environment for bacterial growth.
Step 2: Adding Starter Cultures and Ripening
Once your milk reaches the desired temperature, it’s time to add the starter cultures. These bacteria help acidify the milk, breaking down lactose into lactic acid. The ripening period, where bacteria are left to work, is crucial for flavor development and should be carefully monitored for the right level of tanginess.
Step 3: Adding Rennet to Form Curds
Rennet is added next, causing the milk to coagulate and form curds. This is a delicate process; too much rennet can make the curds overly firm, while too little results in a softer cheese. You’ll notice the milk transforming into a soft, pudding-like consistency within minutes. Allow the curds to set undisturbed until they are firm enough to be cut.
Step 4: Cutting the Curds
Cutting curds is a critical step because it determines the cheese’s moisture level. Using a long knife, slice the curds into even pieces to release whey. Smaller curds mean drier cheese, while larger ones retain more moisture, resulting in softer cheese. Aim for consistent cuts to promote even draining.
Step 5: Cooking and Stirring the Curds
After cutting, gently heat and stir the curds. This cooking process controls the cheese’s texture. Firmer cheeses require higher temperatures, while softer varieties need gentler heat. Stirring keeps the curds separated, allowing them to release more whey.
Step 6: Draining the Whey
Draining separates the curds from the whey, which is essential for firming up the cheese. Place the curds in cheesecloth and allow them to drain until they reach the desired texture. You can even save the leftover whey—it’s rich in protein and can be used in smoothies, bread, or other recipes.
Step 7: Salting the Cheese
Salting adds flavor and acts as a preservative. Depending on the recipe, salt can be sprinkled directly onto the curds or added through brining, where the cheese is soaked in a saltwater solution. Brining is often used for cheeses like feta, which requires a specific moisture level.
Step 8: Aging (Optional)
For those interested in aged cheese, the aging process is where flavors deepen and evolve. Store your cheese in a cool, humid place, ideally in an area with controlled temperatures. Aging encourages complex flavors to develop, transforming fresh cheese into a mature product.
DIY Cheese Recipes to Try at Home
Recipe 1: Fresh Mozzarella
Ingredients (see Table below for measurements and details)
- Milk
- Citric acid
- Rennet
- Salt
| Ingredient | Quantity | Notes |
|---|---|---|
| Whole Milk | 1 gallon | Preferably pasteurized |
| Citric Acid | 1 ½ teaspoons | Dissolved in water |
| Liquid Rennet | ¼ teaspoon | Diluted in water |
| Salt | As needed | For brining or sprinkling |
Instructions:
- Heat milk to 90°F, then add dissolved citric acid.
- Stir in rennet and let curds form, then cut curds into cubes.
- Cook the curds slowly, drain, and shape into mozzarella balls.
Recipe 2: Simple Cheddar
Ingredients (see Table below for measurements and details)
- Milk
- Cheese cultures
- Rennet
- Salt
| Ingredient | Quantity | Notes |
|---|---|---|
| Whole Milk | 1 gallon | Full-fat milk recommended |
| Cheese Cultures | ¼ teaspoon | Mesophilic cultures |
| Liquid Rennet | ¼ teaspoon | Diluted in water |
| Salt | As needed | For flavor and preservation |
Instructions:
- Heat milk to 85°F, then add cheese cultures.
- Stir in rennet and allow curds to form, then cut curds.
- Cook, drain, and press curds, then age as desired.
Common Cheese-Making Challenges and How to Overcome Them
Curd Not Forming Properly
When curds fail to form, it’s often due to incorrect temperatures or old rennet. Ensure your milk reaches the correct temperature before adding rennet and use fresh ingredients.
Bitter or Off Flavors
Bitterness can result from over-ripening or incorrect pH levels. Using high-quality ingredients and keeping temperatures stable can help.
Texture Issues
If your cheese is too soft, it may have too much moisture. Adjusting the size of the curds or cooking them longer can improve the firmness.
FAQs About How Cheese is Made Step by Step
Can I Make Cheese Without Rennet?
Yes, certain fresh cheeses, like paneer or ricotta, do not require rennet. They rely on acidity from lemon juice or vinegar for curdling.
What Type of Milk Is Best for Cheese Making?
For best results, use whole milk, ideally pasteurized at low temperatures. Avoid ultra-pasteurized milk, as it doesn’t curdle well.
How Long Does Homemade Cheese Last?
Fresh cheese can last a week in the refrigerator, while aged cheese can last months. Ensure proper storage to extend shelf life.
Is It Safe to Make Cheese at Home?
Yes, but following sanitation and temperature guidelines is essential to prevent contamination. With the right tools and ingredients, homemade cheese-making is safe and delicious.
Conclusion
Embarking on a cheese-making adventure brings immense satisfaction, allowing you to enjoy unique flavors and textures that you’ve crafted by hand. By understanding the basics, gathering the right ingredients, and following each step closely, you can create a variety of cheeses that suit your tastes. Whether you’re aiming for a simple mozzarella or a tangy cheddar, remember that cheese-making is an art best enjoyed slowly.
Get started with your first batch today, and discover the joy of creating your own artisanal cheese from scratch!
