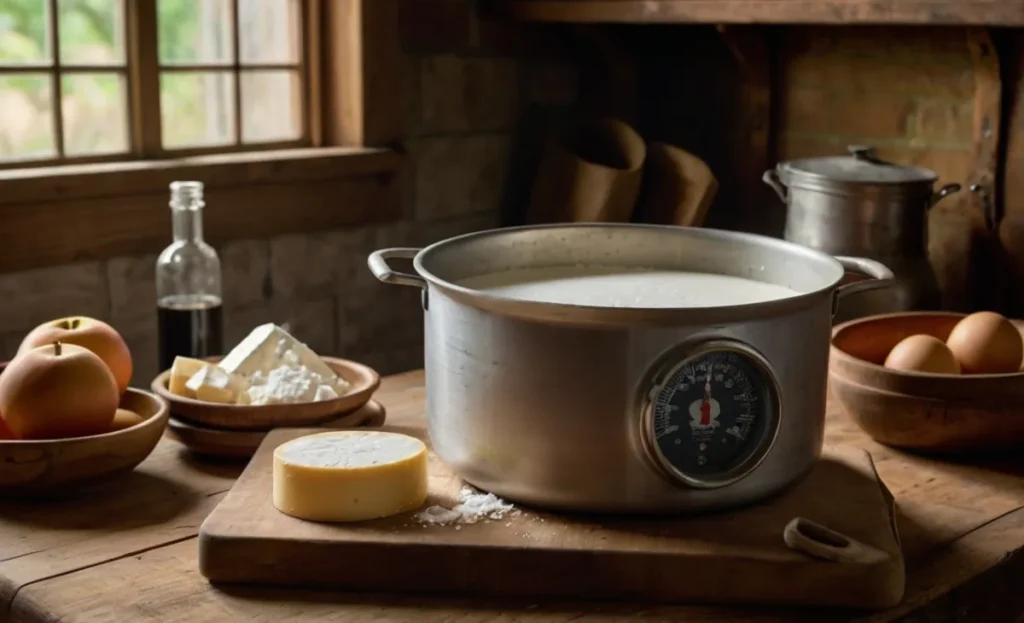
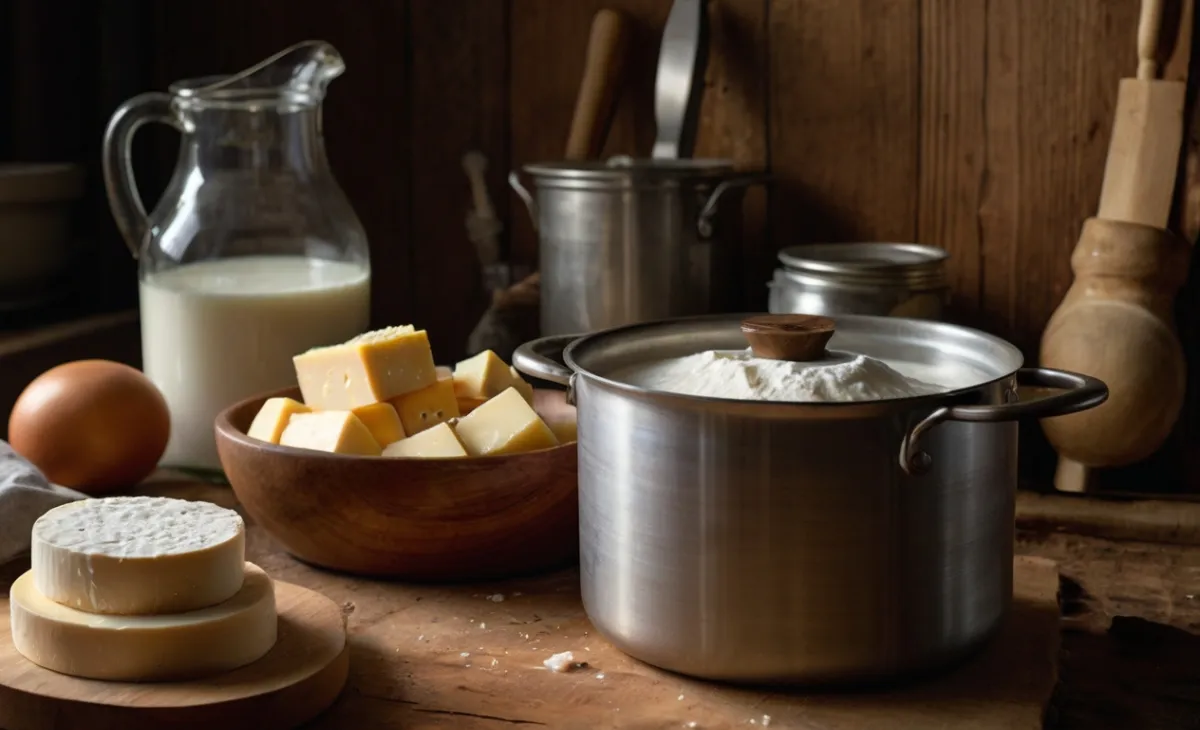
The Ultimate Guide: How Cheese is Made Step by Step for Home Cooks
The Ultimate Guide: How Cheese is Made Step by Step for Home Cooks
Creating cheese in your own kitchen may sound like an art best left to artisans, but with the right guidance, it’s a rewarding and approachable experience for anyone who loves homemade foods. By mastering how cheese is made step by step, you unlock a world of flavors and textures that can rival store-bought varieties. This guide breaks down the process, providing practical advice and insights to help you craft cheese confidently and enjoyably.
Essential Ingredients and Tools for Homemade Cheesemaking
The first step to successful cheesemaking at home is assembling the necessary ingredients and tools. Each item serves a unique purpose, contributing to the texture, taste, and quality of your cheese. Selecting the best supplies can set you up for an easy and rewarding process.
Ingredients
| Ingredient | Amount |
|---|---|
| Fresh milk | 1 gallon |
| Rennet | 1/4 tablet or equivalent liquid form |
| Cheese salt | To taste |
| Starter culture | 1/4 tsp |
Using high-quality milk is paramount. While cow’s milk is the most common, goat or sheep milk can provide unique flavors. Always opt for fresh, minimally processed milk as ultra-pasteurized options may affect curd formation.
Equipment
| Tool | Purpose |
|---|---|
| Heavy-bottomed pot | Prevents scorching |
| Cheese thermometer | Maintains temperature |
| Cheesecloth | Drains curds |
| Molds | Shapes the cheese |
Each tool plays a specific role in cheesemaking. A heavy-bottomed pot ensures even heating, while a cheese thermometer helps you monitor crucial temperatures. Cheesecloth or butter muslin is essential for draining curds without losing them, and molds help shape the cheese during the pressing stage.
Step-by-Step Cheesemaking Process for Home Cooks
Once you’ve gathered your supplies, it’s time to delve into the step-by-step cheesemaking process. Each stage is essential for transforming milk into a rich, flavorful cheese.
Step 1 – Preparing and Heating the Milk
Begin by pouring the milk into your pot and heating it over low to medium heat. Bring the temperature up gradually, aiming for around 86°F (30°C) for most types of cheese. Consistent heating is key; rushing this stage can lead to uneven curds. Stir gently to prevent scorching but avoid incorporating too much air, which can affect the final texture.
Step 2 – Adding the Starter Culture
With the milk at the correct temperature, it’s time to add the starter culture. This crucial step kickstarts the formation of lactic acid, which will give your cheese its distinct flavor and consistency. Sprinkle the culture over the surface of the milk and allow it to rehydrate for a minute before gently stirring it in. Once mixed, let the milk rest for 30 to 60 minutes. This waiting period allows the bacteria to work and begin transforming the milk.
Step 3 – Adding Rennet and Setting the Curd
Dilute the rennet in a small amount of cool, non-chlorinated water. Add this solution to the milk and stir slowly, ensuring even distribution. Rennet is responsible for coagulating the milk, which separates into solid curds and liquid whey. Let the milk sit undisturbed for 45 minutes to an hour. You’ll know the curd is ready when you can insert a knife and see a clean break – this means the curds are firm enough to cut.
Step 4 – Cutting the Curds
Cutting the curds is a delicate step that affects the texture of your cheese. Use a long knife or curd cutter to slice the curds vertically and horizontally, creating small cubes. The size of these cubes can vary depending on the type of cheese you’re making – smaller cubes release more whey, resulting in a drier cheese. This stage also influences the consistency; the smaller the curds, the firmer the cheese will be.
Step 5 – Cooking the Curds
Gradually increase the temperature of the curds to around 100°F (38°C). Stir gently and continuously to prevent the curds from matting together. Cooking the curds encourages further whey expulsion and helps solidify them. Keep an eye on their firmness; when they feel springy and no longer break apart when pressed, they’re ready for the next step.
Step 6 – Draining the Curds and Shaping the Cheese
Place a colander lined with cheesecloth over a bowl or sink. Pour the curds and whey into the colander, allowing the whey to drain naturally. Once most of the whey is gone, gather the cheesecloth around the curds and press gently to remove additional liquid. Next, transfer the curds into a mold. For firmer cheeses, apply a weight to the top of the mold to press the curds for several hours or overnight. The pressing helps the curds bond together and expels remaining whey, creating a cohesive block of cheese.

Aging, Flavoring, and Experimenting with Cheese at Home
Aging, or affinage, is the art of maturing cheese to develop its flavor and texture. Fresh cheeses like ricotta or mozzarella are ready to eat almost immediately, while harder cheeses such as cheddar or gouda require aging. To age your cheese at home, set up a small space where temperature and humidity can be controlled. A mini fridge or a cool, damp area in your home can work as a makeshift aging chamber.
Adding flavors to your cheese allows for a personalized touch. Mix herbs, spices, or even smoke flavor into the curds before pressing. Popular options include adding cracked black pepper for a sharp, spicy kick or incorporating fresh rosemary for a fragrant touch. Always start with small amounts to balance flavors without overpowering the cheese’s natural taste.
Troubleshooting Common Cheesemaking Challenges
Cheesemaking is as much about patience as it is about skill. Sometimes, you may run into challenges, but knowing how to address them can make all the difference.
- Curds Not Forming Properly: This issue can arise due to the type of milk used. Ensure your milk isn’t ultra-pasteurized, as this can interfere with curd formation. Double-check the temperature and effectiveness of your rennet.
- Overly Sour Cheese: This could be due to over-culturing. Reduce the amount of starter culture or shorten the culturing time next time you try.
- Soft or Crumbly Texture: This can result from insufficient pressing. Make sure to apply enough weight during pressing to expel all excess whey and achieve the desired consistency.
Storing and Serving Homemade Cheese
Proper storage helps maintain the quality and flavor of your homemade cheese. For fresh cheeses, store them in an airtight container in the refrigerator. Aged cheeses should be wrapped in wax paper or cheese paper, allowing them to breathe while still protecting them from drying out. Store these in a cool space, checking occasionally for any signs of mold growth.
Serving your cheese at room temperature enhances its flavor and texture. Pairing your creation with complementary foods like fruit, honey, or wine can elevate the tasting experience. The creamy, rich flavors of a homemade cheese blend beautifully with crunchy bread or the sweetness of grapes and figs.
FAQ Section – Your Cheesemaking Questions Answered
How long does it take to make cheese step by step at home? The timeframe varies depending on the type of cheese. Fresh cheeses can be ready in a few hours, while aged varieties require weeks or even months to develop their full flavor.
Can I make cheese without using rennet? Yes, alternatives such as lemon juice or vinegar can be used for some cheeses, but these options yield a different texture and flavor compared to traditional rennet.
What types of milk work best for cheesemaking? Fresh milk with minimal processing is ideal. Raw milk works well if it’s available, but pasteurized milk can also be used, as long as it’s not ultra-pasteurized.
How do I achieve consistent results in my homemade cheese? Consistency comes with practice. Keep detailed notes of your process, including temperatures, timing, and measurements. This will help you fine-tune your method over time.
Conclusion
Mastering how cheese is made step by step at home is an enjoyable journey that bridges the gap between kitchen basics and gourmet creations. By following these steps, experimenting with flavors, and staying patient, you’ll discover the joy of crafting a product that’s uniquely yours. Now that you know the essentials, gather your ingredients, start your first batch, and share the experience with friends and family. Your next homemade masterpiece awaits. Start today, and let your kitchen become the heart of your cheesemaking adventures.


